Showing posts with label TRIPTYCH. Show all posts

Sunday, 23 March 2014

GIFT FOR JOANN

Hello my Lovelies, this is my final catch up, I made this gift for my Lovely Friend Joann form Castle Park designs, she sent me that gorgeous box, I made a small triptych for her...


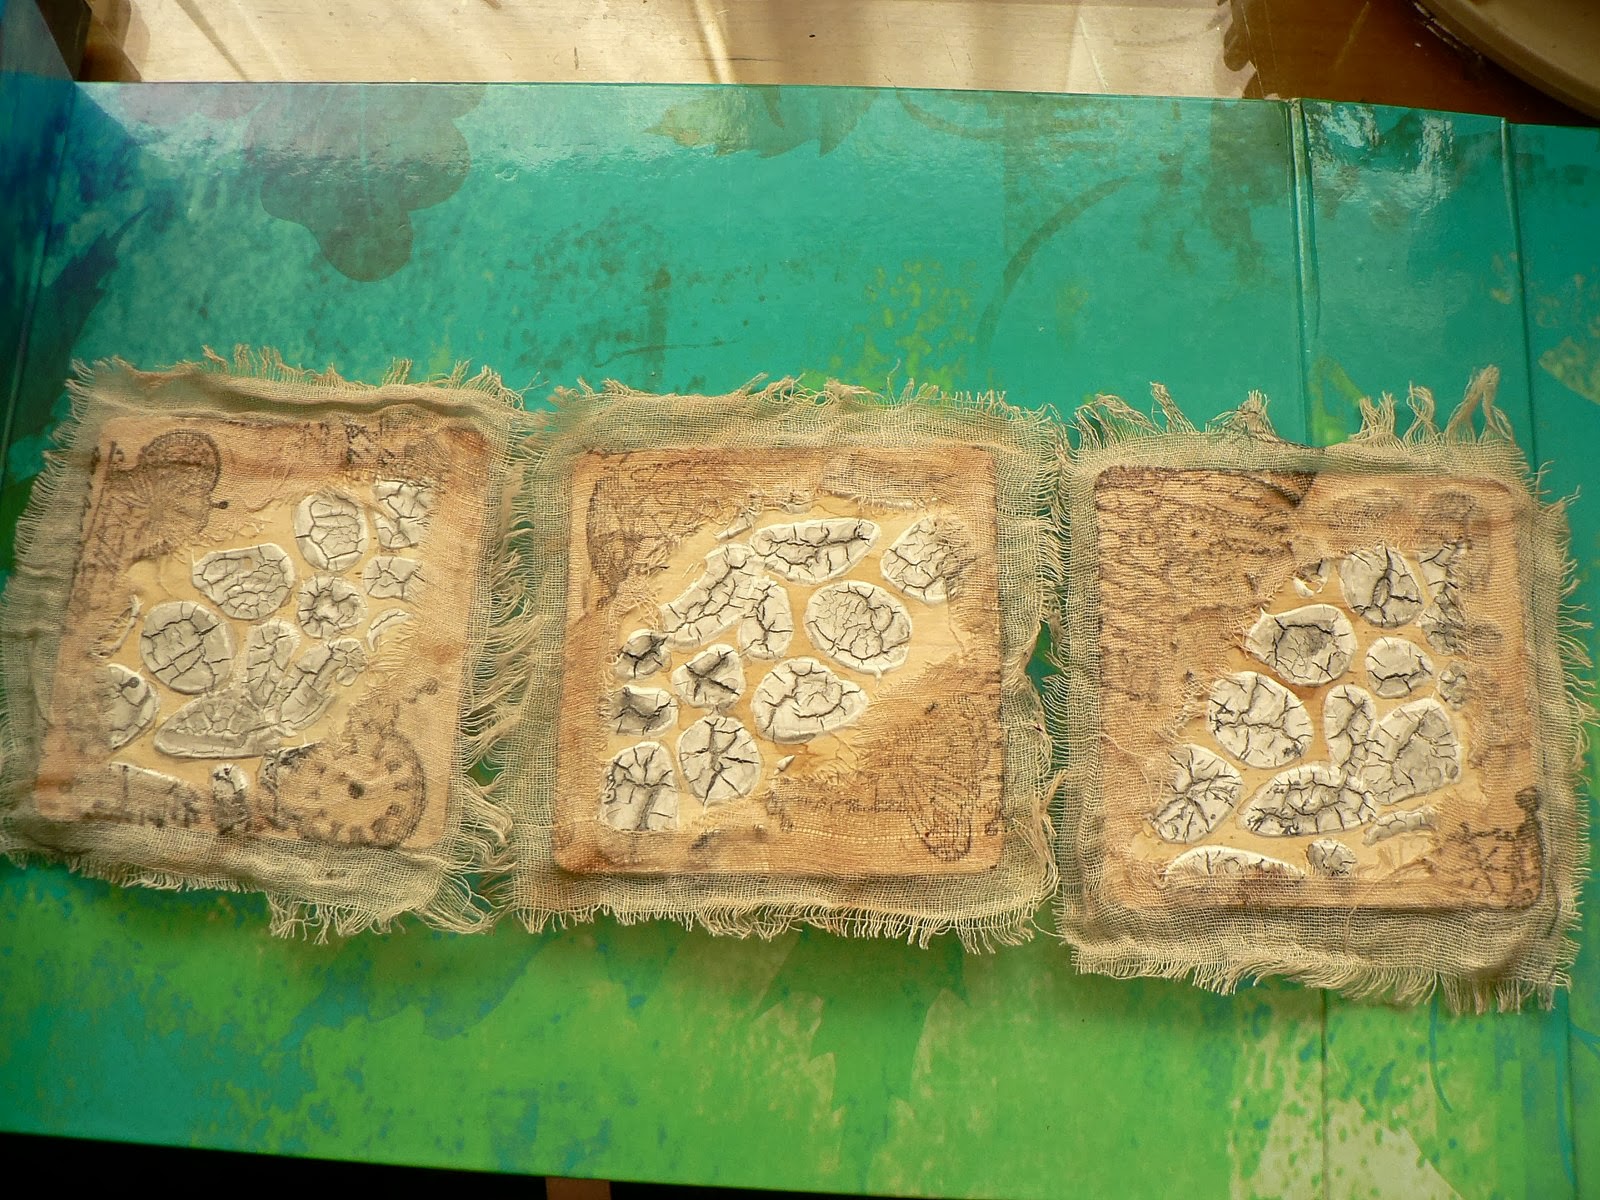
I had 3 tiny pieces of cardboard from some packages, I cover them with the salted ink paper I made, I stamped the Asian stamps on tissue , the right side means beauty and the left side means wisdom.
I used some gelli plate paper on the backside, stamped the love sign right on top, I joined them with 2 pieces of wool..
This is what it looks like sitting up....
Thanks for visiting my nest, eekkss, it's my Bro's BD on the second,that creeped up on me, thanks goodness I started it before,
I finished the other triptych I was making and will post that this week and hopefully my DB gift.. Hope you all have a wonderful week.. ((( BIG HUGS )))...

Thursday, 10 October 2013

MY LAST TRIPTYCH...


Hello my Lovelies, finally finished my triptych.
I was having so much trouble figuring out how
 to join them to fit on my shelf.
I was so sad to cover those cute gnomes I  had to
use my NBUS, they were a gift from Tonniece a
long time ago, so was happy to use them here
I used some nice tan paper, stamped some tree's.
stamped the images on tissue, I stamped some birds
flying away, they were frightened when the the gnomes
appeared.

I got my friend Sheila to print out,
"They appeared in the mist, just for you,
because your special". 

I hoped by them appearing see through they kind of
look like they just appeared there. I had to stamp,
berry special,  on card stock and then cut it out,
 the word had disappeared in the background,
I actually did some fussy cutting LOL....


I used my crop-a-dile, used twine to join them

The back, I used some of my inked orange paper
inked over some sequin waste and diamond ribbon
over it, stamped the birds again.
These wild flower are some
old pieces you used to decorate your tiles in the
seventies lol very old...
They wouldn't stand so here was my dilemma..

I had these tiny step ladders I got for 50 cent.
I hot glued it to a piece to cardboard, painted
bronze, Now they can lean on the wood and
fit on my shelf..
Thanks for visiting
Posted by Picasa

Sunday, 29 September 2013

STEPS INTO VINTAGE


Hello my Lovelies ^-^.. I have to do this in 2 post AGAIN.
I did do a bit of work on these all inspired by all of you...
The front started with some vintage paper I painted it with
watered down gesso, stamped in green with one of my favorite
stamps..

I first painted it with watered sown acrylic paint, that left it
shiny so I used the gesso, so it would take any stamping..

Yippee I got to use my new stamps I won from the sweet Bibiana.
I love them and have a few ideas how else to use them :O)..

I ended up stamping them again on gray packing paper.
I cut out the smaller squares out of some cardboard  pages
with playing cards on them, these are the back of them, I
stained them with tea and stamped around the edges, not
to neat:), the stamp covers most of it, just needed some
lines, I used a Celtic stamp from my set..

The back of the coasters, I painted over the gesso with tea,
Miss Patty, another awesome Magpie uses tea to paint and
so many other things, Magpie Patty, I know some of you visit
her, I have been wanting to share her with you, she is a mixed
media artist, photographer, seamstress, makes mandalas out of
flowers and more, I'd encourage you to fly by her nest..
I gessoed on a kids stencil, as you see it has cracked on it own.

I went over the stones with some watery black water paint.
I cut, fringed and fitted some tea stained gauze,
cut out in the middle so you could see the rocks.
I stamped all around the edges in black ink..
The finished triptych in in the post below this I hope,
You know how I'm not good at that :O).. 
Posted by Picasa

VINTAGE TRIPTYCK.....


You''ll have to click on the photo's if you want a closer
look...
A few other things I did was podged some beige net
behind the image, I made a flowers to add, maybe too
much but all hot glued on now. I pondered for a while
how I could join them. I hot glued them together, with
the fringe in the front, I like that fringe:)
I added a few words to dreamy feel and image of them.

The only color I added was on the dresses with copic's. 

I wanted to hide the joining but not have it stiff,
I cut out some of my tea died crocheted lace..
I looooooove how it looks yippee...

I had so much fun creating a vintage pieces, I've been
admiring everyone else's so much, thanks for the inspiration.
I've been working on my other triptych, but am going to take
a break so I can fly around blog land and visit..
Hope you have a wonderful day...
NAMASTE!!!
Posted by Picasa

Saturday, 21 September 2013

I'VE BEEN INSPIRED!!!!!


IT'S A BEAUTIFUL DAY ON THE NEIGHBORHOOD!!!!!
I'ts raining, and it's calling to me but no time to sit out in it.
WOW I have been visiting almost all of you wonderful Ladies.
I have been sooooooo inspired, you can see sneak peaks of what
I have been seeing on my side-bar, it was amazing visiting, to see
all the OUTSTANDING work you have been doing, it has rocked
my world. My desk has been calling to me forever :), I'm there :O)..
This is just a little taste of what I'm starting, triptychs, I need one
more to fill my shelf. I thought a round one might be interesting in the mix. I have seen some GORGEOUS vintage things in my travels.
I didn't think I had any vintage stamps, but I found one my DS Sandy gave me years ago. I stamped it a few times and thought
they might have to be square not sure yet.

Now how darn cute are these coasters, my friend Jan
picked me up a STACK of coasters in Amsterdam, these
ones with the gnomes are too much, I hate to cover them,
I have more so its okay:).. 

This is the stamp, you'll have to click on it to see
it better, this gray paper is very delicate, it's from packaging.
I used worn lipstick, peeled paint and tea dye.

Here I stamped on my last piece of the rust paper towel.
I'm not sure which ones I'll use yet..
This is just the beginning, I have a couple of other things,
I'll show that later.
I just wanted to say a huge THANK YOU to all you fabulous
artist, you know how you are :)..

This is one of the things Sandy brought from England for me.
She spoiled me..
These are for your nails imagine that, I will be trying these out
in my art, not sure how but I love all that shine, makes
my Magpie eyes sparkle hehehehe.
Thanks for visiting, sorry about the chattiness but you know me.
Hope you all have a wonderful weekend, I know I will..
NAMASTE!!!!
Posted by Picasa

Saturday, 31 August 2013

MY BIRD HOOD PART 1


Hello everyone, I finished my Bird neighborhood.
I had such fun making this, a thatched house, a
lovely old barn and a hut all the way from New Zealand. 

The back of the housed the backdoor is always closed.

In the barn Mrs Nancy Blue a Barn Swallow
She is a beautiful, with her tawny body and glistening
cobalt blue head, she always has a crowd at her nest
lots of kids and helpers, you always hear laughter there :O). 

Her husband is a metal worker, he has to work hard
to feed all the gang, he does lovely work as you can see.

They have a metal roof, when it rains it warm and cozy,
 the rain sound amazing in there.
They have a bat house outside..
The rest of the houses in next post..
Posted by Picasa

MY BIRD HOOD PART 2


This is the English thatched bird house, Miss Jules,
She is a pretty little red robin, she loves her garden
and has a little Hummingbird, staying at her house.

Close up of her Boarder, Miss Sweety and her house.

Close up of her garden

This is Mrs Samantha Evans from a little Island off
the coast of New Zealand called Bells Island, she has
brought a lot of things from there to decorate her house.


Her doorbell, her good luck jar, and an old port hole.

Some shells from Tasman Sea she gathered before she left.
She is a Korimako ( bell bird) and she is always singing for us
and has a lovely voice..
Thanks for looking at my Bird neighborhood..
Have a wonderful creative day..
NAMASTE!!!!
Posted by Picasa

Tuesday, 28 May 2013

TIBETAN MONASTAERY PART 2


I had made a lovely stand for it out of styrofoam, painted, inked it
then it was too small so I had to make another, I used cardboard,
, I made a step up to the main temple, then sat the other 2 beside
it, this was perfect till I urned it around:):)..
 

I colored 2 beads gold, cut up some tiny sticks for
the incense holder..
 
Posted by Picasa

THE BACK VIEW...


A overhead view


After I mounted them the bottom of the doors were covered so I cut
2 circles out and added some tiny glass marbles to the make it look like
the doors opened out..

I do love how it turned out, and thanks Anne I am very
proud how it turned out.
Thanks for visiting I appreciate everyone for looking.
Have a wonderful creative day..
NAMASTE!!!
Posted by Picasa