Saturday, 15 February 2014

MY GOLD FEATHER BOX....

Hello my Lovelies thanks for stopping by my nest, it's been a crazy few days, lots of company, trying to finish my box and contents, I  was going to enter the new Dragon Dreams challenge, I haven''t been able to think of the anything, a real blank, searching through all my things, it's about birds,  and the letter G, it must be the letter. anyway I have a few love things to make and send out so I'll work on those and hope something comes to me before  the challenge is over LOL.. On to my box...


 I tried to do some crackling, need more practice with that., I forgot to crackle the edge around the lid, so I had to gold leaf that too, I kind of like it better this way, I added a tiny nest lined it with threads from my rusted material and some magical eggs, see how they are iridescent, not sure what kind of eggs they are but I know they are magical...
 I stamped on the inside of the lid with my fountain and bird stamp, didn't like it so just gessoed over it but you can see it faintly...

 I tore a piece of rusted tee shirt to keep the book tied, I had made that broach a while back, kind of messed it up the feathers with that  darn glue gun:) but thought it went lovely with the feather theme,  I glued a bead on the skewer to hold the feathers I added,
                                           close up ..

 The eyelash feathers, I joined them with my waxed string added some letter beads with the F, just taped it to the back with washi tape, the brown ones, I cut out from that fab paper, I've had forever and just found them, edged them with brushed corduroy and added a green wooden bead, the pic below is just another view of the sides, I have my glue gun heating to glue the nest on, it was just sitting on the earlier pic..

Thanks again for visiting and leaving me such lovely comments, them make my heart sing..I have a couple of hours of sunlight left to create something I hope, I'll fly around blog land when the sunsets to visit all you lovely Ladies, hope you have a wonderful weekend...
                                      ((( BIG HUGS )))
                                   
                                            NAMASTE!!!!
                                     

Wednesday, 12 February 2014

WOYWW? :O)


Hello my Lovelies, it's Tues. evening, I had to quickly take a pic before I get back there... I'll keep it short and sweet for my favorite snoop tour, no not snoop dog, but a peek at what other artist are creating and the Sweetest hostess Miss Julia here, grab a cuppa and head over if you want get inspired....

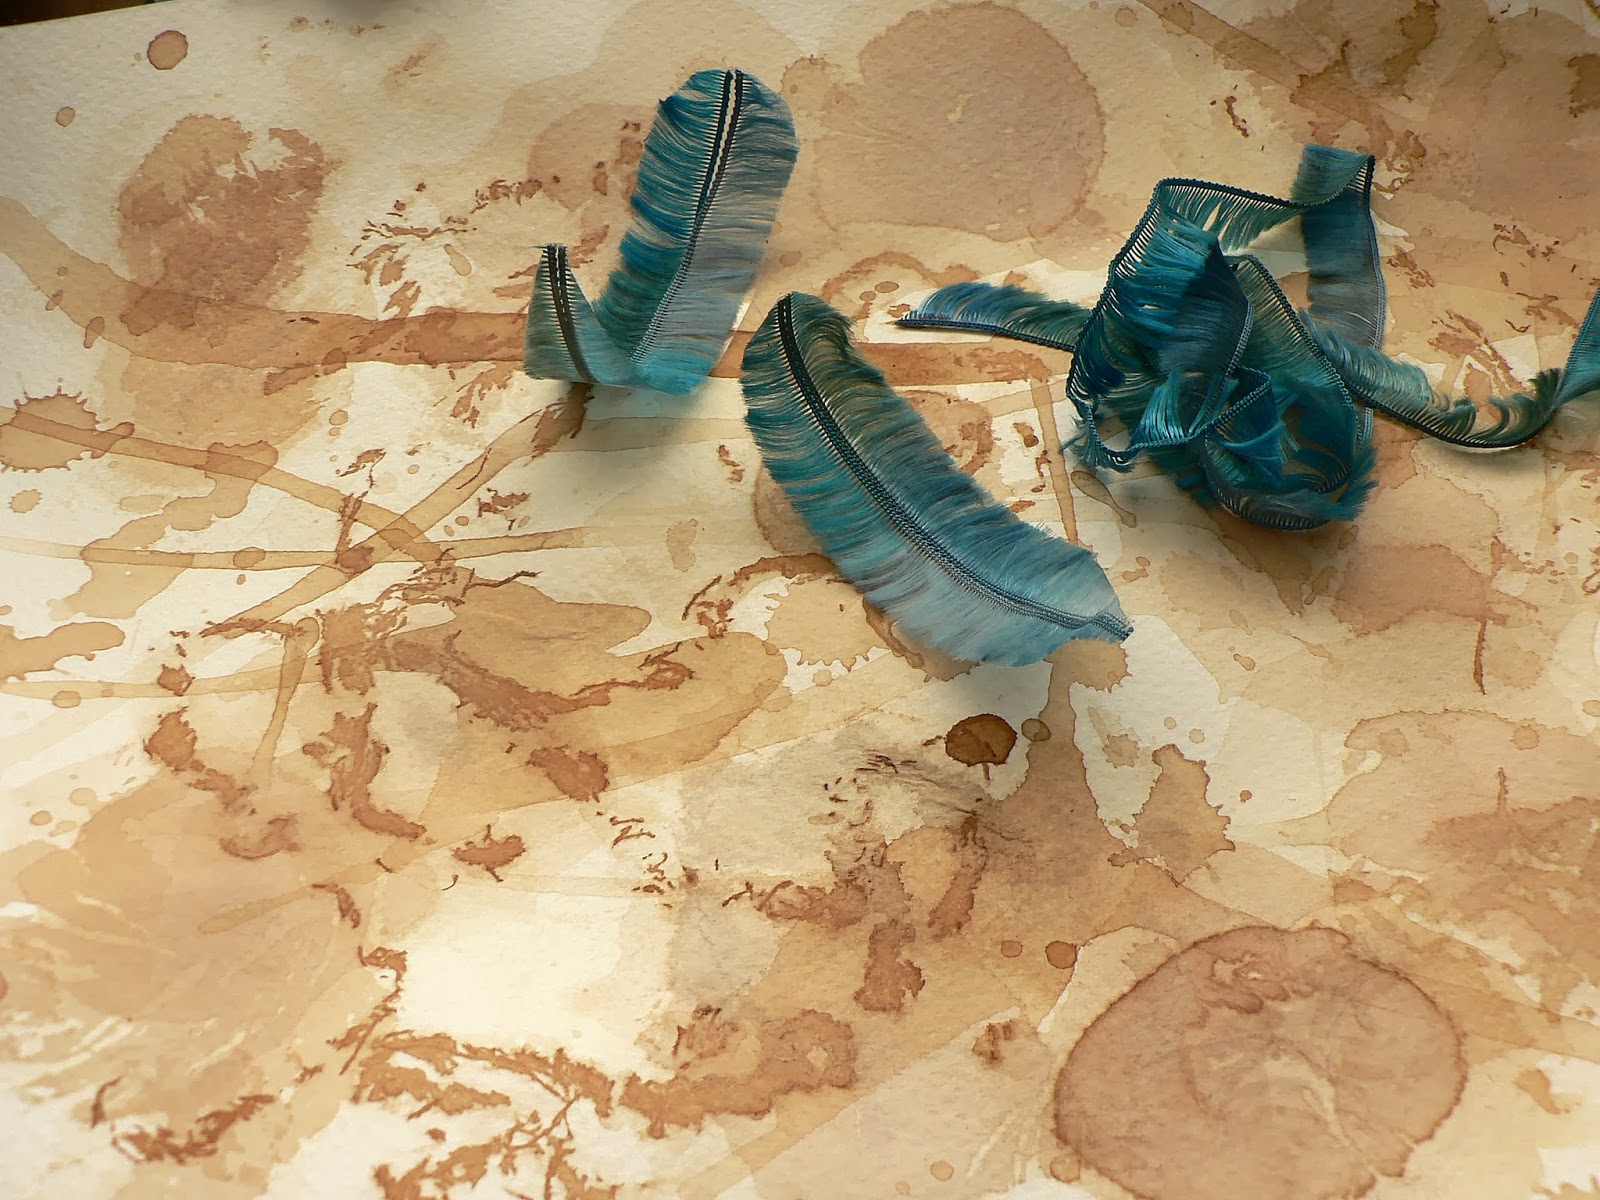
 I made some  feathers out of eye lash wool, I love them, I'm going to add them to my Accordion book, thanks Ladies :O), and that paper hhhmmm......

 Last week I fly over to the Lovely Shoshi,( love her name) she is a tea bag lover too, she says she drops her used tea bags on paper and you get some lovely staining, I used a piece of water color paper dropped my bags and  also put my tea dyed gauze on there I'm in love with that paper can't wait to play with it..

The box for the book, I've got it ready to gold leaf the feathers..
I'll get back to that now. I'll fly around the world visiting all those fabulous Deskers after swimming, thanks for dropping in my nest, hope you all have a wonderful day...  ((( BIG HUGS )))

                                                    NAMASTE!!!

Monday, 10 February 2014

FINISHED TAGS

Hello my Lovelies, " warning Will Robinson this is photo heavy:O),
I did do a bit more...
I'm offering tea or coffee while viewing :O), :O) ..

I used my feather stencil with brushed corduroy, used my big white brush with sequin waste (Punchinella), I think it makes it look like the feathers are floating in water.. Close up below...


The back side, I stamped a Celtic bird stamp and the sequin waste again,
                                              close up..


I cut up my gelli print,, I wish I had taken a pic of them, I saw feathers in the pattern so I drew some in with copic's...


My friend Sheila, photo copied the poem by Emily Dickson,, the way it was copied I had to fit them side ways,  the plan was to have them stand up lengthwise, bit that's okay..

I joined them together, with dyed ( kool aid & tea) gauze and skewers, with modge podge,
                       

 I tore the sentences, inked them with broken china and shabby shutters, edge with brushed corduroy, I edged everything with it  and Inca gold. Now it flips down..


 I punched out some tiny birds from birch bark, and had them flying around the poem, love those little guys..

 This is how I wanted it to sit, I'll just have to make another one :).
Does anyone know what these are called, I knew when I made one years and years ago, I can't remember, a missing link LOL...

Thanks so much for staying so long hope you enjoyed it, I loved making them, hope you all have a wonderful creative week..
Now I have to finish the box for them, I hope to be back Wed.
 for WOYWW... I'm flying off to do some visiting...

                                                 NAMASTE!!!

Sunday, 9 February 2014

EXPERIMENTING WITH MY TAGS


Hello my lovelies I made new tags, I cut them out of an old piece cardboard from the back of a picture frame. I gessoed one on the left with my home made gesso and the other on right with golden's.Golden's is smoother and shinier.


These ones I used Tim's ink on my desk added water and swiped them through it, my gesso is on the right and seems to take the ink better..
I used water color paint, dropped dots of paint then spritzed them with water, my gesso in on the left, it took the water color better too.
These I used  gelato's, mine is on the left, I like the golden's better, now I just have to decorate them, as you see I'm back to my usual colors I'm always  going back to them :). thanks for visiting to see my experimenting, wishing you all a wonderful day...
                           
                                       NAMASTE!!!

Wednesday, 5 February 2014

WOYWW???

Hello my lovely Ladies, it's time to see what all the wonderful artist are doing around the world, stop by our Desker, Hostess Extraordinaire,  Miss Julia Dunnit blog, grab a cuppa and enjoy.

 I've been experimenting again, making a gelli plate, boy I have seen some incredible pages artist have been creating, and making backgrounds is my thing :O), my claws have been itching to play with one. It was very easy to make, Miss Patty (Magpie's Nest) an amazing mixed media artist, photographer, and a very sweet Magpie, made her own and shared a link for a how to.
Ingredients, 11/2 cups of alcohol, 11/2 cups boiling water, 1/2 cups of glycerin, 7 packets of gelatin (6 tbs) ...
I emptied the packets into my pan added the alcohol , stirred it, it went into little balls, when I added the hot water it all dissolved, then added the glycerin, stir it well, I thought I had but it turned out like my Mothers jello rubbery on the bottom:), but that okay, I'm going to make another one but square. I slide a knife around the edge, then carefully lifted it out of the pan, then left it in the fridge over night..

                         
This is what it looked like on my desk kool eh hahahha...
I got my paints out, mine are about 10 yrs old, I store them upside down, the paint is way to thick so the examples below didn't spread around to well, I used the back of  1/2 x 1/2, now they are kind of double sided and a few on the front side, these are just a few,  I did a couple on tissue when there was just  a little bit of paint left on the gelli  sorry no pics, thought this bunch was enough, once you start playing with it, it's hard to stop.I'm going to try and add some water to my acrylic paint and see if that helps the colors to blend better, then I can use my stencils, to create some design on them.                      


I know this is a huge post for WOYWW sorry Miss Julia, I'll try to keep it shorter next time, thanks for visiting and hanging around this long have a wonderful creative week.....  

                                           NAMASTE!!!

Sunday, 2 February 2014

STENCIL AND TAGS


Hello my lovelies just dropping in to show you some of what I have been doing..
 I cut out 2 stencils, one big feather and 4 small ones for backgrounds, I used these 3 feathers to draw them then used my hot knife to cut them out, then I used some of my golden paste on a water color paper, hope you can see them..
 Now my 6 tags, I gessoed over them then added some of Tim's inks. I had bought a bunch of Tim's distressed inks from eBay, this was over 10 years ago, I got 6 different browns, I used the vintage photo and tea dye, and walnut stain, I gave one to my friend. the other 2 have been sitting in a box, I thought I might as well use them too, eeeekkkkks, they were frayed burlap and brush corduroy, I have been seeing everyone using them, I was so excited, they were kind of dried out a bit but enough for me to use them, they are the ones I covered the tags with..
 I dropped some water on them..
 Sponged the brushed corduroy through sequin waste..
 I was having trouble getting my paints to stick, I used a couple of brown paints, tried swirling, didn't work, I let it dry, mixed some white and brown, trying to make beige, then pounced the paint through my feather stencils, I still didn't like them so I sprayed some orange spray I had made ages ago, then let it drip, still don't like them..
This is the other side, I don't like them, so I will put these away maybe for another project and start again with beer mats, I made a gelli plate today and will play with it, more about that on Wed.
Thanks for stopping by, hope you all have a wonderful week.

                                            NAMASTE!!!

Saturday, 1 February 2014

FLY

Hello my Lovelies, I decided to enter a challenges, yes I'm taking the plunge for the second time, one of my favorite challenge blogs is 
Dragon's Dream, 2 of my favorite designer's design there, Miss May and Miss Julie Ann, what I Like is you don't need any special stamps, products etc., just use what you have. The challenge was green, my favorite color and the letter F, so this is what I created on a large tag..


 I used Tim's  pine needle, shabby shutters, mowed lawn, and mustard seed, blended them all over my time cards,( this is what I make my large tags )  I used my feather stencil with broken twigs.
I got some lovey sticky on large letters from a friend, so I used that for the F then stamped the L,Y with my large letter stamps. Rubbed
Inca gold all over the F..
 The stamp I used was a fountain with bird flying around it came out very light, stamped some script around, used my big white pen to make the circles around the tag, shesh crooked again, I do admit I'm cockeyed LOL..
 I dyed some seam binding with gelato's, I used another time card to stamp the seam binding with the same stamp, I really like how it looked after, so I inked it up to finish the back of the tag to match the front.

                               
I think I like the back better :O). I also added some waxed twine to make a big bow.. That's it for me Ladies, I'm going to do some visiting then back to my desk. Hope you have a wonderful creative weekend, it's going to snow all weekend here, I'd trade it for the rain any day ^-^..

                                       NAMASTE!!!!